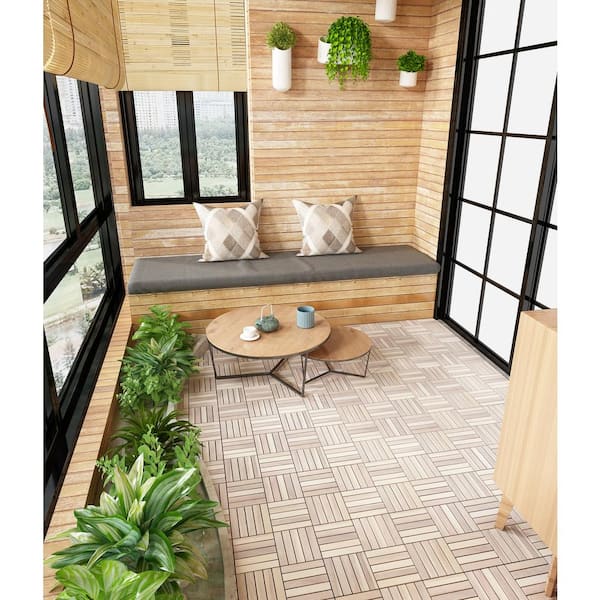
If you’re looking to enhance the appearance and functionality of your outdoor space, deck tiles are a fantastic option to consider. Not only do they provide an easy and cost-effective way to renovate a tired deck or patio, but they also offer a variety of design possibilities.
In this ultimate guide, we’ll walk you through the process of choosing and installing deck tiles, so you can transform your outdoor living area into a stylish and inviting oasis.
Choosing the Right Deck Tiles
Before you start your search for deck tiles, it’s important to consider a few key factors that will help you choose the best option for your space.
Material: Deck tiles are available in a variety of materials, including wood, composite, stone, and PVC. Each material offers its own unique benefits, so it’s essential to select one that fits your style preferences and maintenance requirements.
Size and Shape: Deck tiles come in a range of sizes and shapes, from traditional square tiles to interlocking planks and even hexagonal designs. Consider the layout of your outdoor space and the look you want to achieve when selecting the size and shape of your tiles.
Color: Deck tiles are available in a wide array of colors, from natural wood tones to bold and vibrant hues. Think about the overall aesthetic of your outdoor area and choose a color that complements your existing decor.
Installation Method: Deck tiles can be installed using a variety of methods, including snap-together interlocking systems, adhesive backing, and traditional screws. Consider your DIY skills and the complexity of the installation process when selecting a method that works best for you.
Installing Deck Tiles
Once you’ve chosen the right deck tiles for your space, it’s time to start the installation process. Here are some general steps to follow when installing deck tiles:
1. Prepare the Surface: Before laying down your deck tiles, make sure the surface is clean, level, and free of any debris. Sweep or vacuum the area to remove dirt and dust, and repair any damaged or uneven surfaces.
2. Plan Your Layout: Before you start laying your deck tiles, carefully plan the layout to ensure a seamless and uniform look. Consider the orientation of the tiles, the pattern you want to create, and any cuts that may be necessary to fit the tiles properly.
3. Begin Installation: Start laying your deck tiles in one corner of the area, working your way across the space in rows. Use spacers to maintain consistent spacing between tiles, and check for level periodically to ensure a smooth and even surface.
4. Cut Tiles if Necessary: If you encounter obstacles such as posts or edges that require custom cuts, use a saw or tile cutter to trim the tiles to fit. Be sure to measure carefully and wear appropriate safety gear when cutting tiles.
5. Finish the Edges: Once all of your tiles are in place, finish the edges of your deck tiles with custom trim pieces or edge strips to create a polished and professional look.
With these tips in mind, you can choose and install deck tiles with confidence, creating a stylish and durable outdoor living space that you’ll enjoy for years to come. Transform your deck or patio into a beautiful and functional oasis with the help of deck tiles.


