Are you in need of extra storage space for your farming equipment, vehicles, or livestock? Building your own barn shed is a cost-effective solution that can provide you with ample storage space, while also adding value to your property. In this ultimate guide, we will walk you through the steps of building your own barn shed so you can get started on your project today.
Step 1: Planning and Design The first step in building your own barn shed is to create a plan and design. Consider the size of the shed, the materials you will use, and the layout of the interior. Think about what you will be storing in the shed and how much space you will need. Make sure to check local building codes and obtain any necessary permits before starting construction.
Step 2: Gather Materials and Tools Once you have your plan in place, it’s time to gather the materials and tools you will need for construction. Typically, you will need lumber, roofing materials, nails, screws, a hammer, a saw, and a level. You may also need additional tools depending on the complexity of your design.
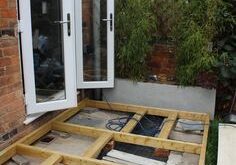
Step 3: Construct the Foundation The foundation is a critical aspect of your barn shed that will provide stability and support. You can choose from a variety of foundation options including concrete slabs, gravel pads, or pier blocks. Make sure the foundation is level and properly supported to avoid any issues with the structure in the future.
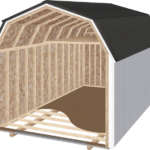
Step 4: Frame the Walls and Roof Next, it’s time to frame the walls and roof of your barn shed. Use the lumber you gathered to create the frames for the walls and roof, ensuring they are sturdy and properly aligned. Once the frames are in place, secure them with nails or screws to ensure they are secure.
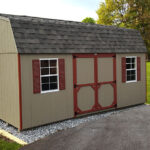
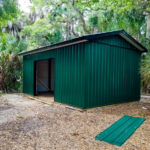
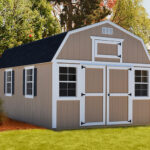
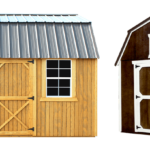
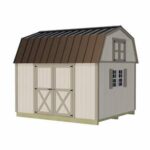
Step 5: Add Siding and Roofing After the frames are in place, it’s time to add siding to the walls and roofing to the roof structure. You can choose from a variety of materials including wood, metal, or vinyl siding, and asphalt shingles or metal roofing. Make sure to properly secure the siding and roofing to prevent any leaks or damage.
Step 6: Finish the Interior Once the exterior of the barn shed is complete, it’s time to finish the interior. You can add shelving, storage units, or partitions to customize the space to meet your needs. Consider adding insulation to the walls and roof to help regulate the temperature inside the shed.
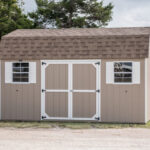
Step 7: Paint and Add Finishing Touches Finally, it’s time to add the finishing touches to your barn shed. Paint the exterior with a weather-resistant paint to protect the shed from the elements. Add any final decorations or features to personalize the space and make it your own.
Building your own barn shed can be a rewarding and cost-effective project that can provide you with valuable storage space for your farming needs. With this ultimate guide, you can follow the steps to construct a sturdy and functional barn shed that will serve you well for years to come. Start planning your barn shed project today and enjoy the benefits of extra storage space on your property.