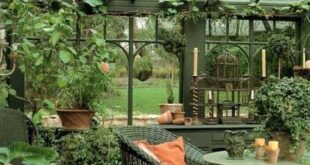
If you’re a garden enthusiast looking to take your gardening game to the next level, then consider building a DIY greenhouse in your backyard. Greenhouses offer a controlled environment for plants to thrive and also allow you to extend the growing season, providing a safe haven for your plants to grow throughout the year. Not only will a greenhouse transform your garden, but it will also give you the opportunity to grow a wider variety of plants that may otherwise not survive in your climate.
Building a DIY greenhouse may sound like a daunting task, but with some careful planning and the right materials, it can be a fun and rewarding project. Here are some steps to help you get started on building your own backyard greenhouse:
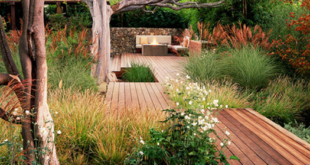
1. Choose the right location: Before you begin building your greenhouse, carefully select a location in your backyard that receives plenty of sunlight throughout the day. The ideal location is facing south to maximize the amount of sunlight your plants will receive. Make sure the location is also easily accessible for watering and maintenance.
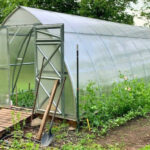
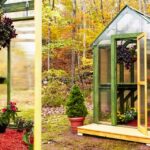
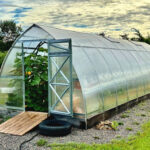
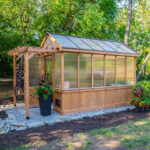
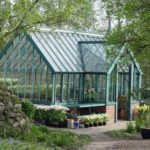
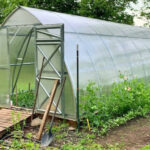
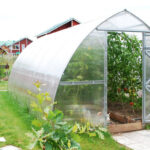
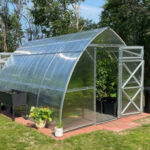
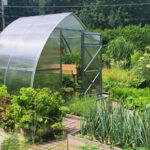
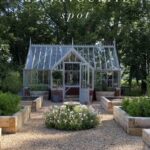
2. Decide on the size and design: Consider the size of your backyard and how much space you have available for your greenhouse. You can choose from a variety of designs, such as a lean-to greenhouse attached to your house, a freestanding greenhouse, or a hoop house greenhouse. Decide on the size based on the number of plants you want to grow and how much space you have available.
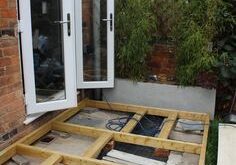
3. Gather materials: Once you have determined the size and design of your greenhouse, gather the necessary materials. This may include PVC pipes, wood framing, plastic sheeting, and greenhouse glazing. You may also need tools such as a saw, drill, and tape measure.
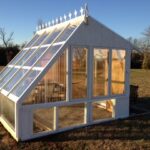
4. Build the frame: Start by building the frame of your greenhouse according to your design. If you are using PVC pipes, cut them to the desired length and connect them using connectors. If you are using wood framing, cut the lumber to size and assemble the frame using screws and nails.
5. Cover the frame: Once the frame is built, cover it with plastic sheeting or greenhouse glazing. Make sure to secure the covering tightly to the frame to prevent it from blowing away in the wind. You may also want to add vents or windows to allow for proper ventilation.
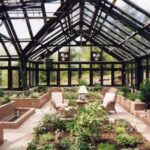
6. Add shelves and benches: To maximize the space in your greenhouse, consider adding shelves and benches for your plants. This will help you organize and display your plants more effectively.
7. Start planting: Once your DIY greenhouse is complete, it’s time to start planting! Choose a variety of plants that will thrive in a greenhouse environment, such as tomatoes, peppers, herbs, and flowers. Make sure to provide proper care and maintenance to your plants to ensure they grow healthy and strong.
Transforming your garden with a DIY greenhouse is a great way to enhance your gardening experience and create a thriving environment for your plants. With some careful planning and a little elbow grease, you can build a greenhouse that will provide endless enjoyment and opportunities for growing a wide variety of plants throughout the year. So roll up your sleeves, gather your materials, and get ready to transform your garden with a DIY greenhouse.