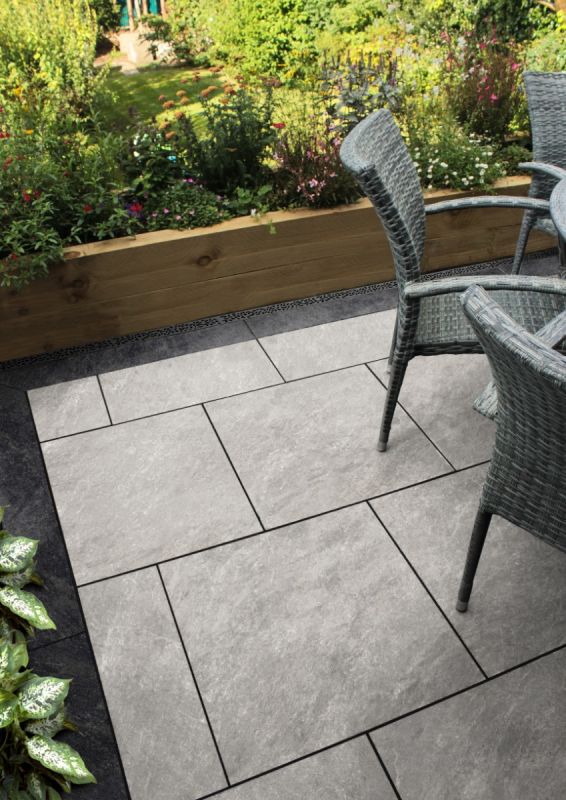
Garden slabs are a popular choice for creating a stylish and durable outdoor space. Whether you’re looking to create a patio, pathway, or seating area, garden slabs offer a versatile and low-maintenance solution. However, with so many options available on the market, choosing and installing garden slabs can be a daunting task. That’s why we’ve put together the ultimate guide to help you make the best choice for your outdoor space.
Choosing Garden Slabs
Before you start shopping for garden slabs, consider the following factors to ensure you choose the right option for your needs:
1. Material: Garden slabs are available in a variety of materials, including natural stone, concrete, and porcelain. Natural stone is a popular choice for its unique colors and textures, while concrete slabs are durable and affordable. Porcelain slabs are a newer option that offer a modern, sleek look.
2. Size and shape: Consider the size and shape of the area you’re looking to cover with garden slabs. Smaller slabs are great for creating intricate designs, while larger slabs can give a more streamlined look.
3. Color: Choose a color that complements your outdoor space and the existing landscaping. Earthy tones like beige and grey are versatile options that work well with a variety of styles.
4. Texture: Consider the texture of the garden slabs, especially if you’ll be using them in a high-traffic area like a patio. Textured slabs offer better grip and can prevent slips and falls.
Installing Garden Slabs
Once you’ve chosen the right garden slabs for your outdoor space, it’s time to start the installation process. Here are some tips to help you achieve a professional-looking result:
1. Prepare the area: Before laying the garden slabs, make sure the area is properly prepared. Remove any existing vegetation, level the ground, and compact the soil to create a stable base.
2. Lay a sub-base: To ensure the garden slabs remain level and stable, it’s important to lay a sub-base of sand or gravel. This will help distribute the weight of the slabs and prevent any unevenness.
3. Start laying the slabs: Begin laying the garden slabs in your desired pattern, starting from one corner and working your way out. Use spacers to maintain even gaps between the slabs and ensure they are level as you go.
4. Cut and fill in: As you reach the edges of the area you’re covering, you may need to cut some slabs to fit. Use a diamond-blade saw to make precise cuts and fill in any gaps with sand or gravel.
5. Finish with jointing compound: Once all the garden slabs are in place, fill the gaps between them with jointing compound. This will help secure the slabs in place and prevent weeds from growing between them.
By following these guidelines, you can choose the right garden slabs for your outdoor space and install them correctly to create a beautiful, functional area for relaxing and entertaining. With proper maintenance, garden slabs can last for years to come, adding value and charm to your home.


