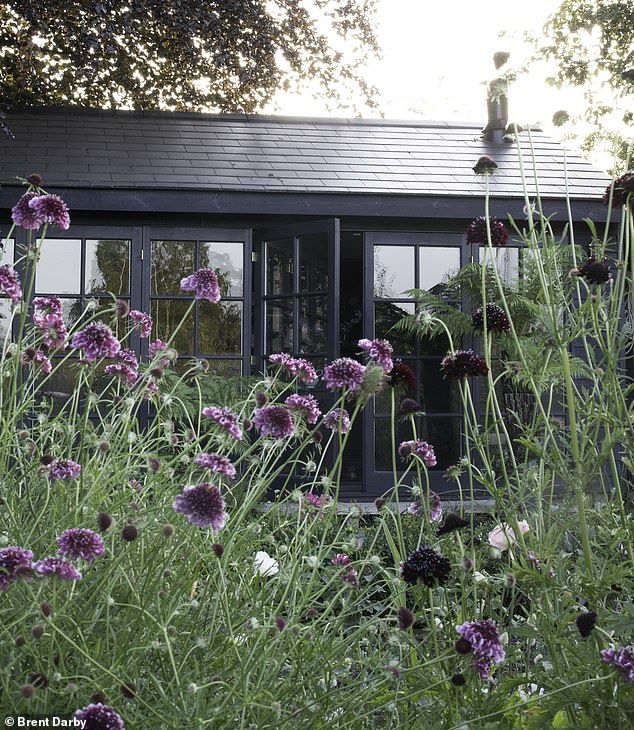
Garden huts, also known as garden sheds, are a charming and functional addition to any outdoor space. Whether you are looking for extra storage, a quiet place to work or relax, or simply a beautiful focal point in your garden, a garden hut can be the perfect solution. In this guide, we will discuss the beauty of garden huts and provide tips and steps on how to build your own.
One of the most appealing aspects of garden huts is their versatility. They can be used for a variety of purposes, such as storing gardening tools and equipment, serving as a cozy reading nook, or even as a small studio or workshop. With a little creativity and personal touch, you can transform your garden hut into a space that reflects your personality and style.
Garden huts come in a wide range of styles and designs, from traditional wooden structures to modern, sleek metal options. You can choose a hut that complements the architecture of your home and garden, or go for a stand-out design that adds a unique touch to your outdoor space. Some garden huts even come with windows, skylights, and other features that allow for natural light and ventilation, making them a comfortable and inviting space to spend time in.
Building your own garden hut can be a rewarding and fulfilling project. Not only will you save money compared to buying a ready-made hut, but you will also have the satisfaction of creating a unique and personalized space that suits your needs and preferences. To get started, here are some steps to guide you through the process:
1. Plan and Design: Start by determining the size, style, and layout of your garden hut. Consider the purpose of the hut and the materials you want to use. Create a detailed plan and design that includes dimensions, materials list, and any special features you want to incorporate.
2. Gather Materials: Once you have your plan in place, gather all the necessary materials and tools for the project. This may include wood, nails, screws, roofing material, insulation, and paint or stain.
3. Build the Foundation: Start by preparing the site for your garden hut and laying the foundation. This could be a concrete slab, wooden deck, or gravel base, depending on your preferences and local building codes.
4. Construct the Frame: Build the frame of your garden hut according to your design and dimensions. Use sturdy, pressure-treated wood for the frame to ensure durability and stability.
5. Add Walls and Roof: Once the frame is in place, add the walls and roof of your garden hut. You can use plywood or tongue-and-groove boards for the walls, and roofing material such as shingles or metal sheets for the roof.
6. Finish and Decorate: Finally, add finishing touches such as windows, doors, trim, paint or stain, and any other decorative elements. Personalize your garden hut with plants, furniture, and accessories that enhance its beauty and functionality.
Building your own garden hut is a rewarding project that allows you to create a unique and personalized space in your outdoor area. Whether you use it for storage, relaxation, or creative pursuits, a garden hut adds charm and character to your garden while serving a practical purpose. Follow the steps outlined in this guide to build your own garden hut and enjoy the beauty and functionality it brings to your outdoor space.


