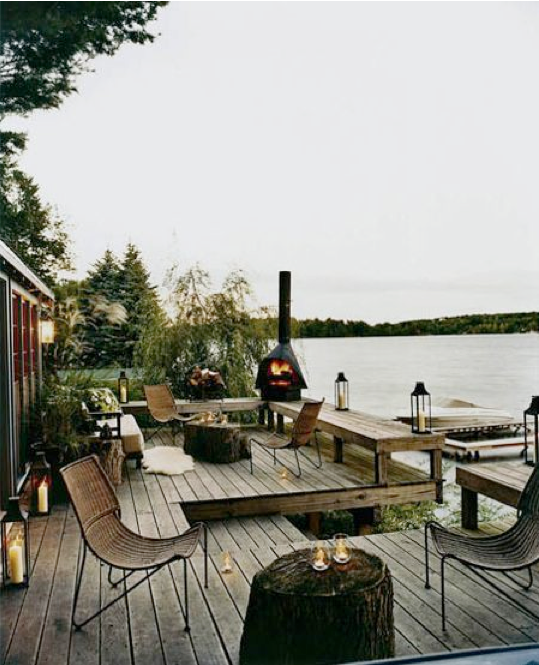
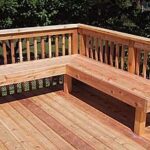
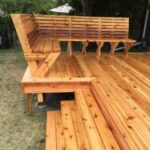
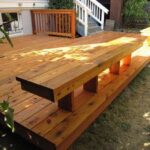
Adding a deck bench to your backyard space is a stylish and practical way to create additional seating and enhance the look of your outdoor area. Whether you are looking to entertain guests or simply relax and enjoy the outdoors, a deck bench is a great addition to any deck or patio.
To help you build a stylish deck bench, we have put together a step-by-step guide that will walk you through the process and ensure that you end up with a beautiful and functional piece of furniture.
Step 1: Determine the size and design of your bench
The first step in building a deck bench is to decide on the size and design that you want. Measure the space where your bench will be placed and consider how many people you want it to accommodate. You can choose to build a bench that runs the length of your deck, or opt for a smaller bench that only covers a portion of the space.
In terms of design, consider whether you want a simple and classic bench or something more intricate and decorative. Look for inspiration online or in magazines to help you determine the style that best fits your outdoor space.
Step 2: Gather your materials and tools
Once you have decided on the size and design of your bench, it’s time to gather the materials and tools that you will need for the project. Materials typically include lumber, screws, and wood glue, while tools may include a saw, drill, and measuring tape.
Make sure to choose high-quality materials that are suitable for outdoor use to ensure that your bench will withstand the elements and last for years to come.
Step 3: Cut your lumber to size
Using a saw, cut your lumber to the desired size according to your bench design. Be sure to make accurate and straight cuts to ensure that your bench pieces fit together properly.
If you are planning to add armrests or a backrest to your bench, make the necessary cuts to create these features as well.
Step 4: Assemble the bench frame
Once your lumber is cut to size, it’s time to assemble the frame of your bench. Start by attaching the legs to the seat of the bench using wood glue and screws. Make sure that the legs are securely attached and that the seat is level.
Next, attach any armrests or backrest pieces to the frame, following the same process of using wood glue and screws to secure them in place.
Step 5: Sand and finish your bench
After the frame of your bench is assembled, it’s time to sand down any rough edges and apply a finish to protect the wood and enhance its appearance. You can opt for a stain or paint to add color to your bench, or simply apply a clear sealant to protect the wood from the elements.
Allow the finish to dry completely before adding cushions or pillows to your bench for added comfort.
Building a stylish deck bench is a great way to add seating and style to your outdoor space. By following this step-by-step guide, you can create a beautiful and functional bench that will enhance your deck or patio and provide a comfortable place to relax and enjoy the outdoors.
